How to find the best window cleaning services in Round Rock for both commercial and residential window cleaning.
Looking to discover the benefits of hiring a window washing service? We have the answers.

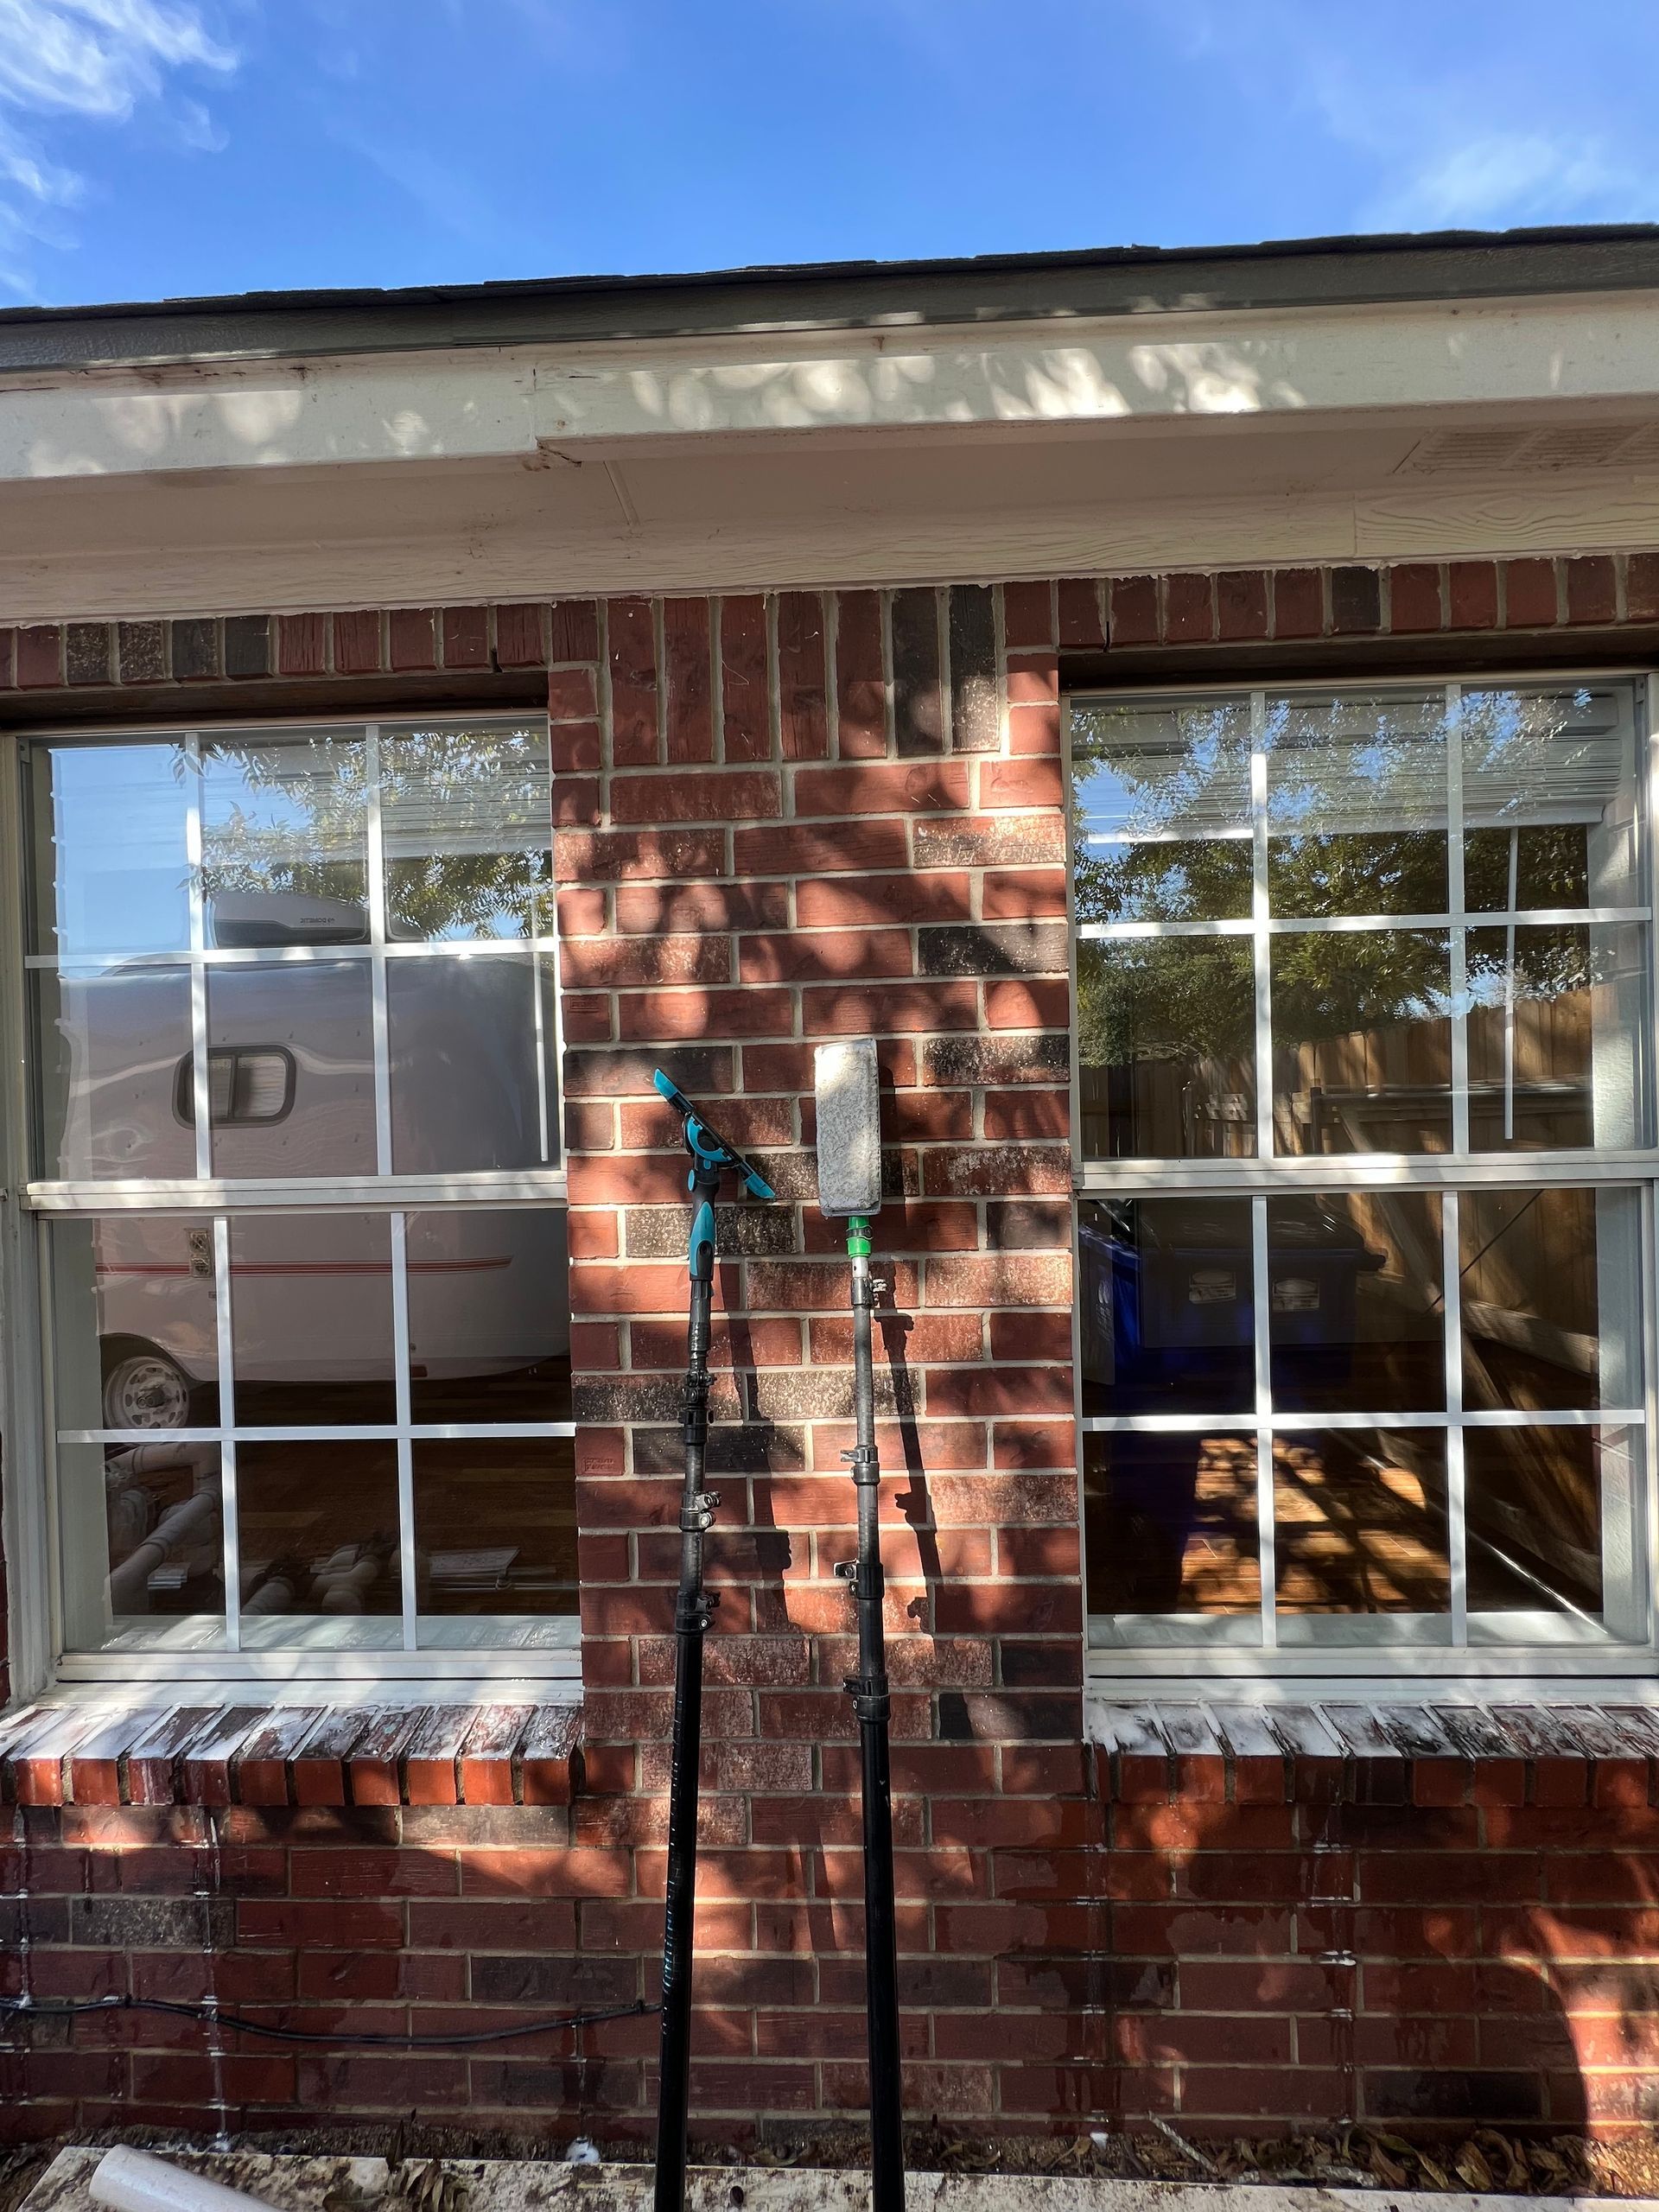
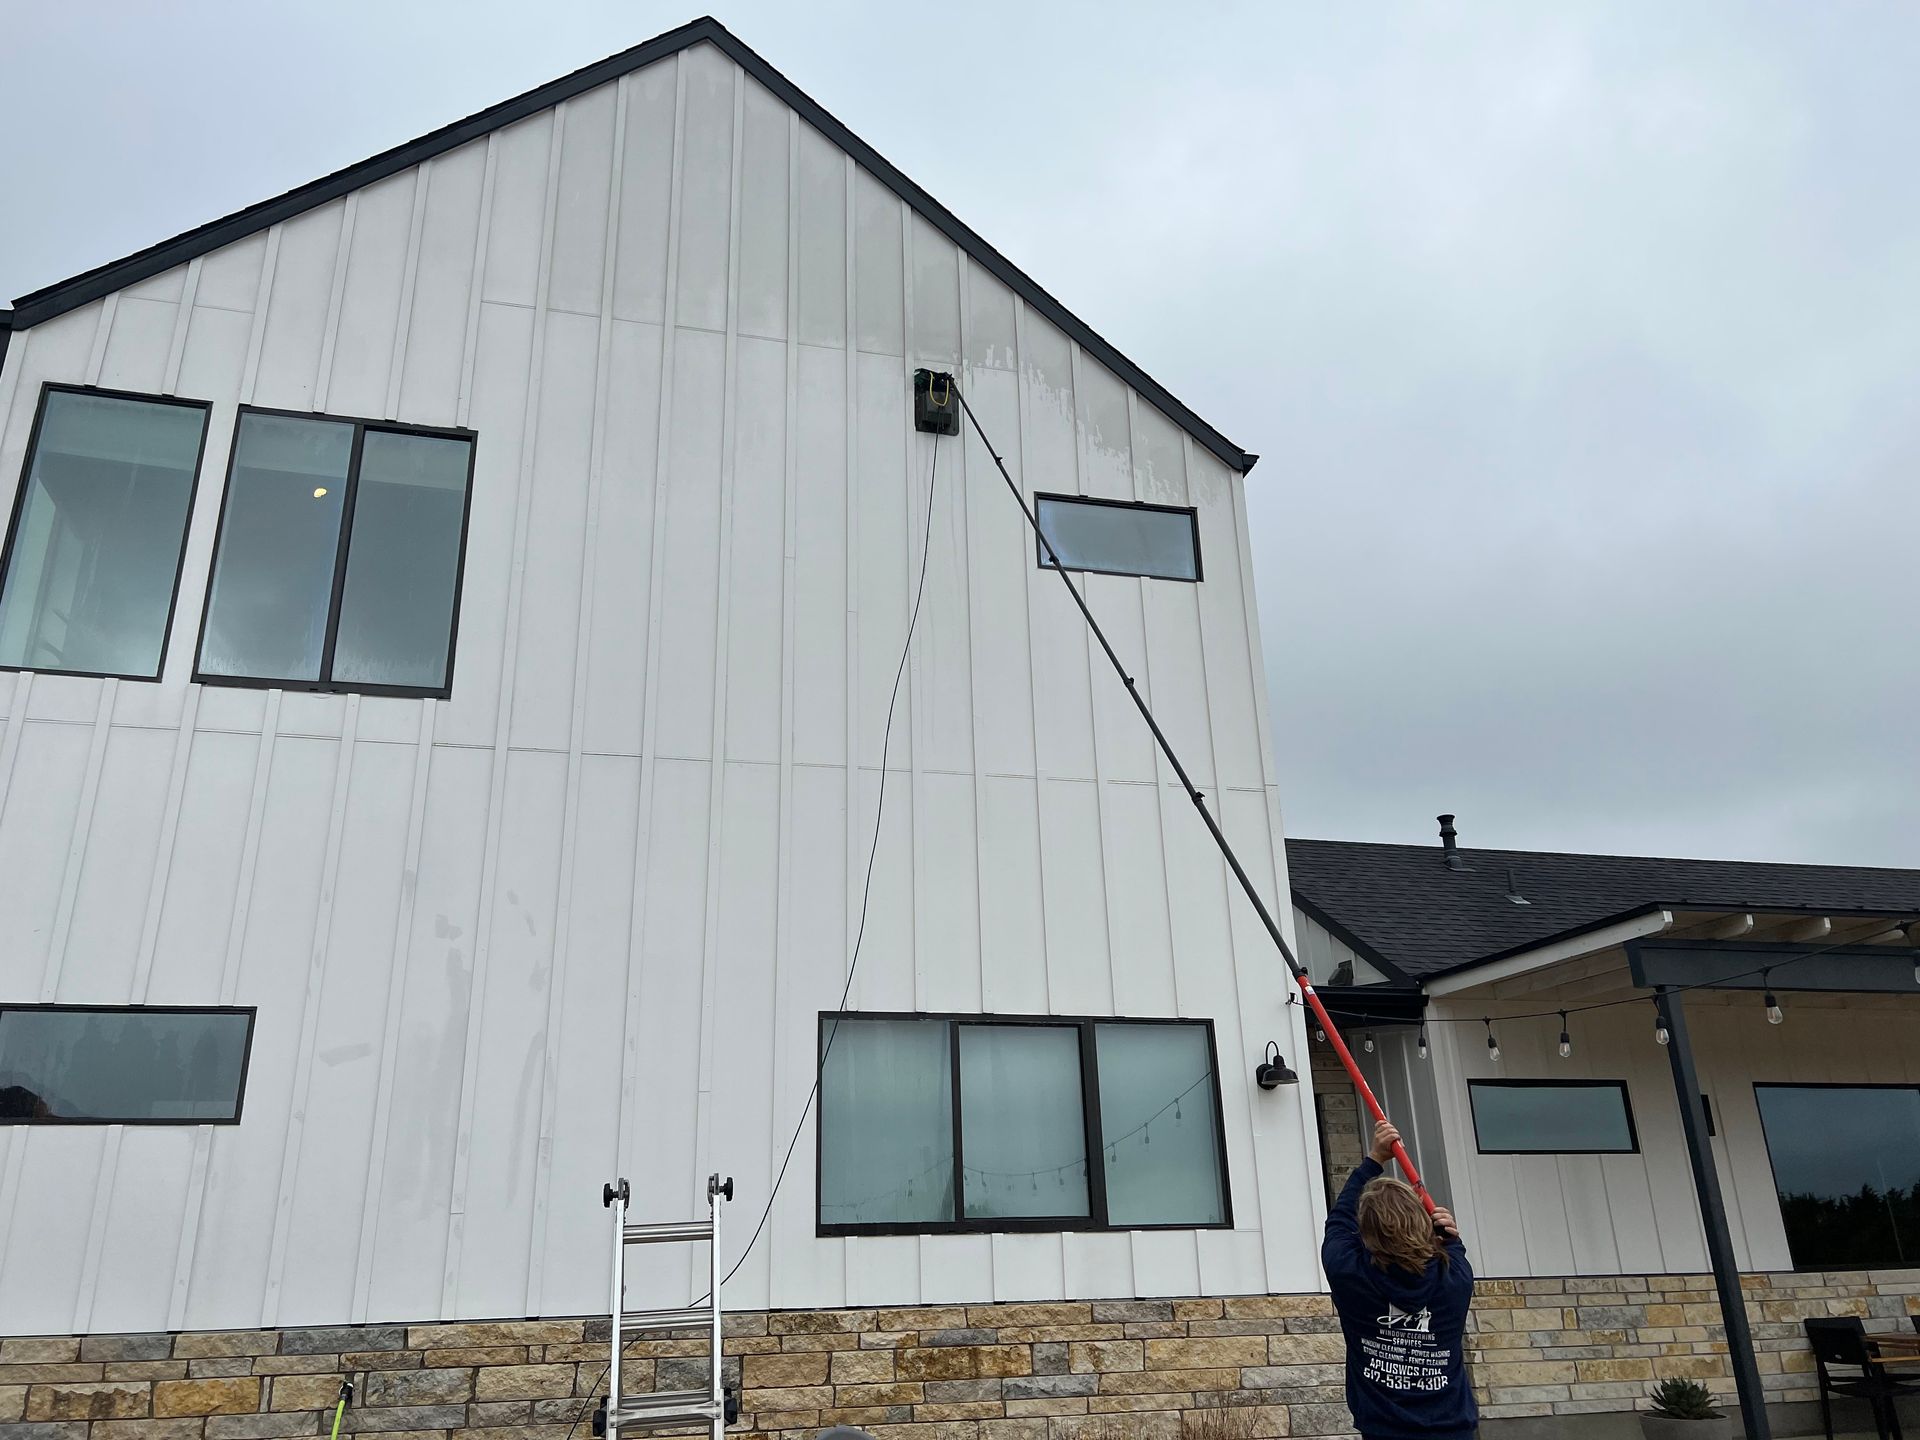
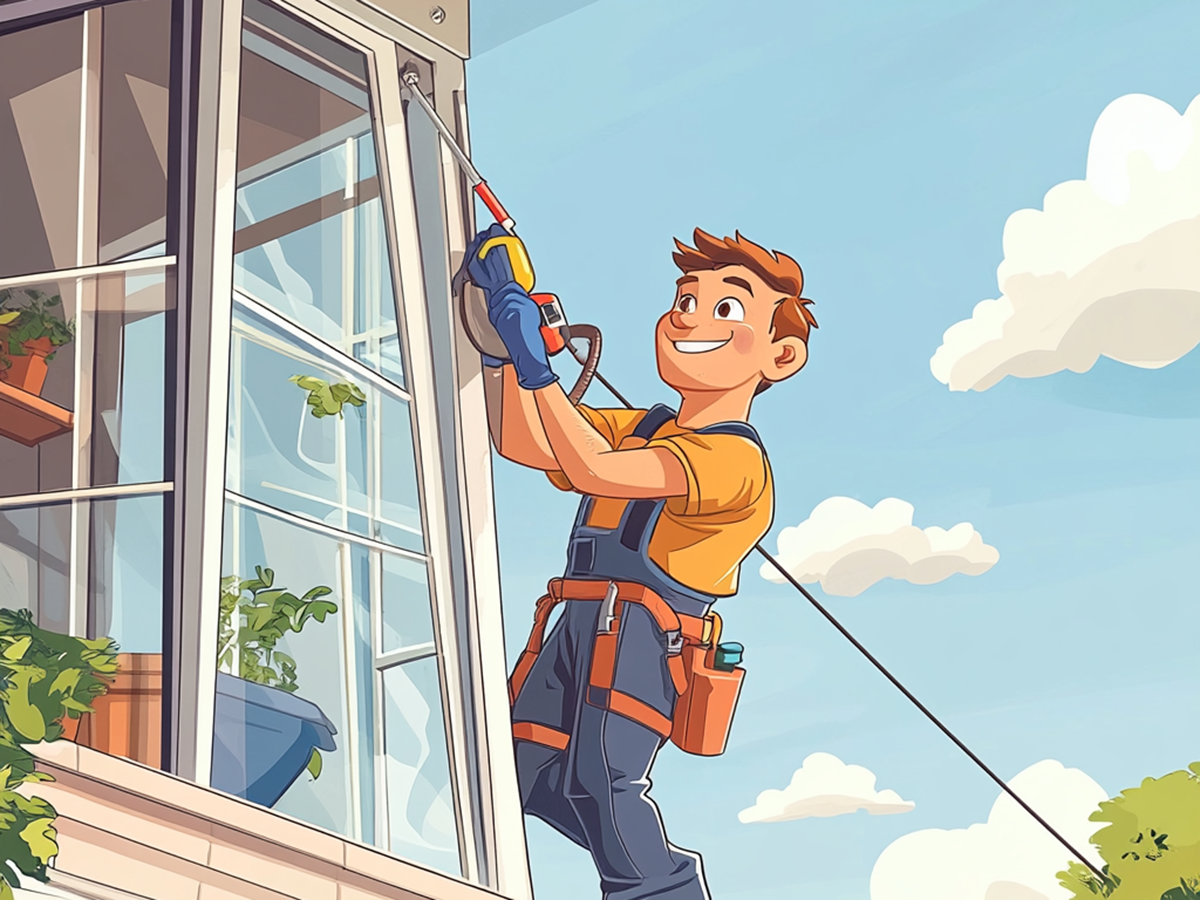
Learn why you should hire a professional window cleaning team to clean your windows this spring and stay off those ladders.
Pressure washing, what you can wash, why you should wash, and what you should never wash.
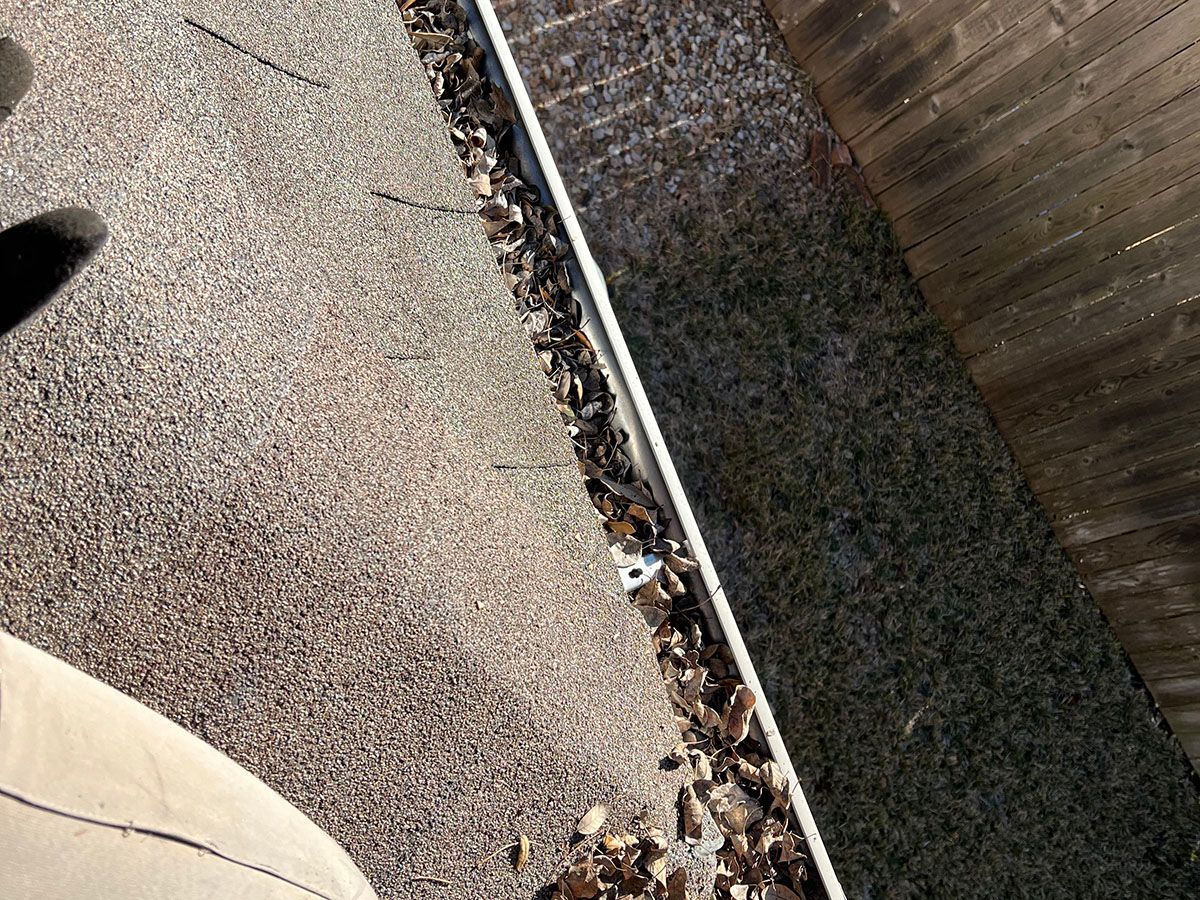
DIY gutter cleaning: if you choose to do it yourself or hire a professional, this article has got you covered.
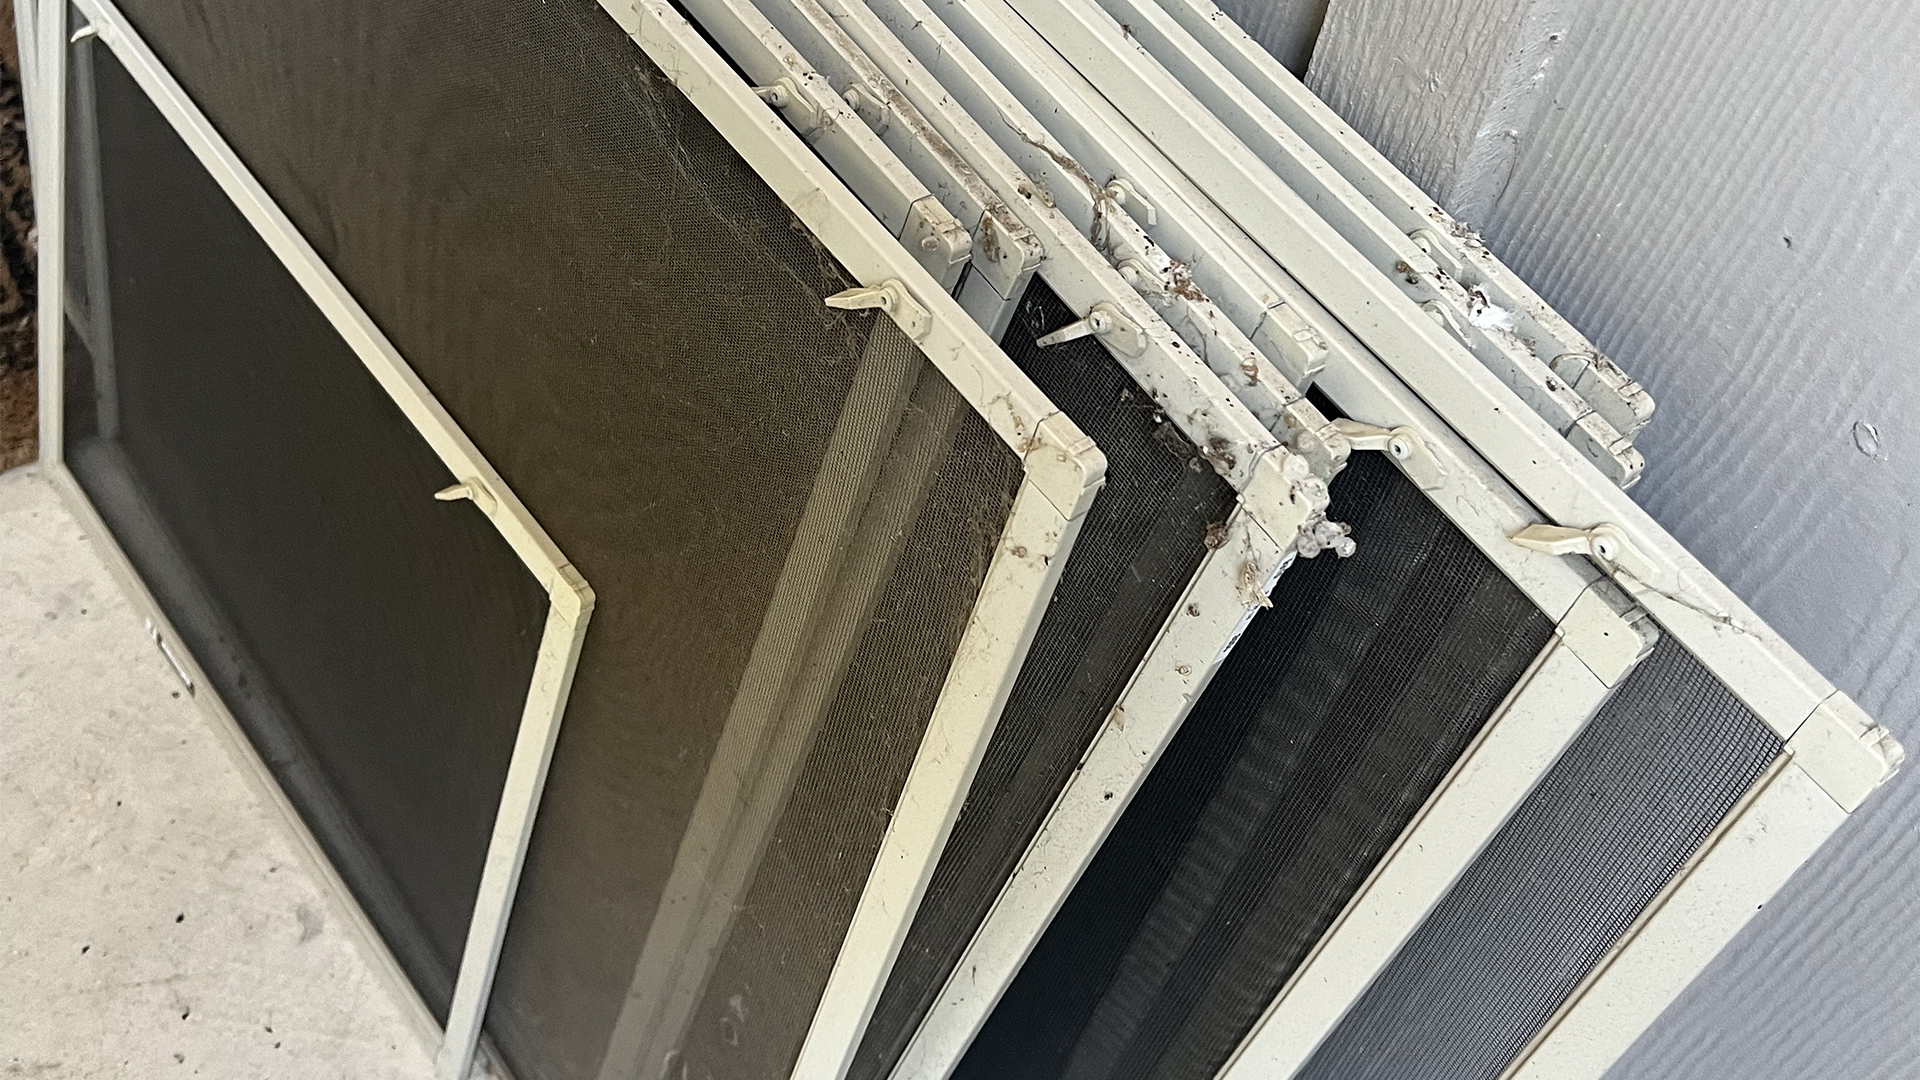
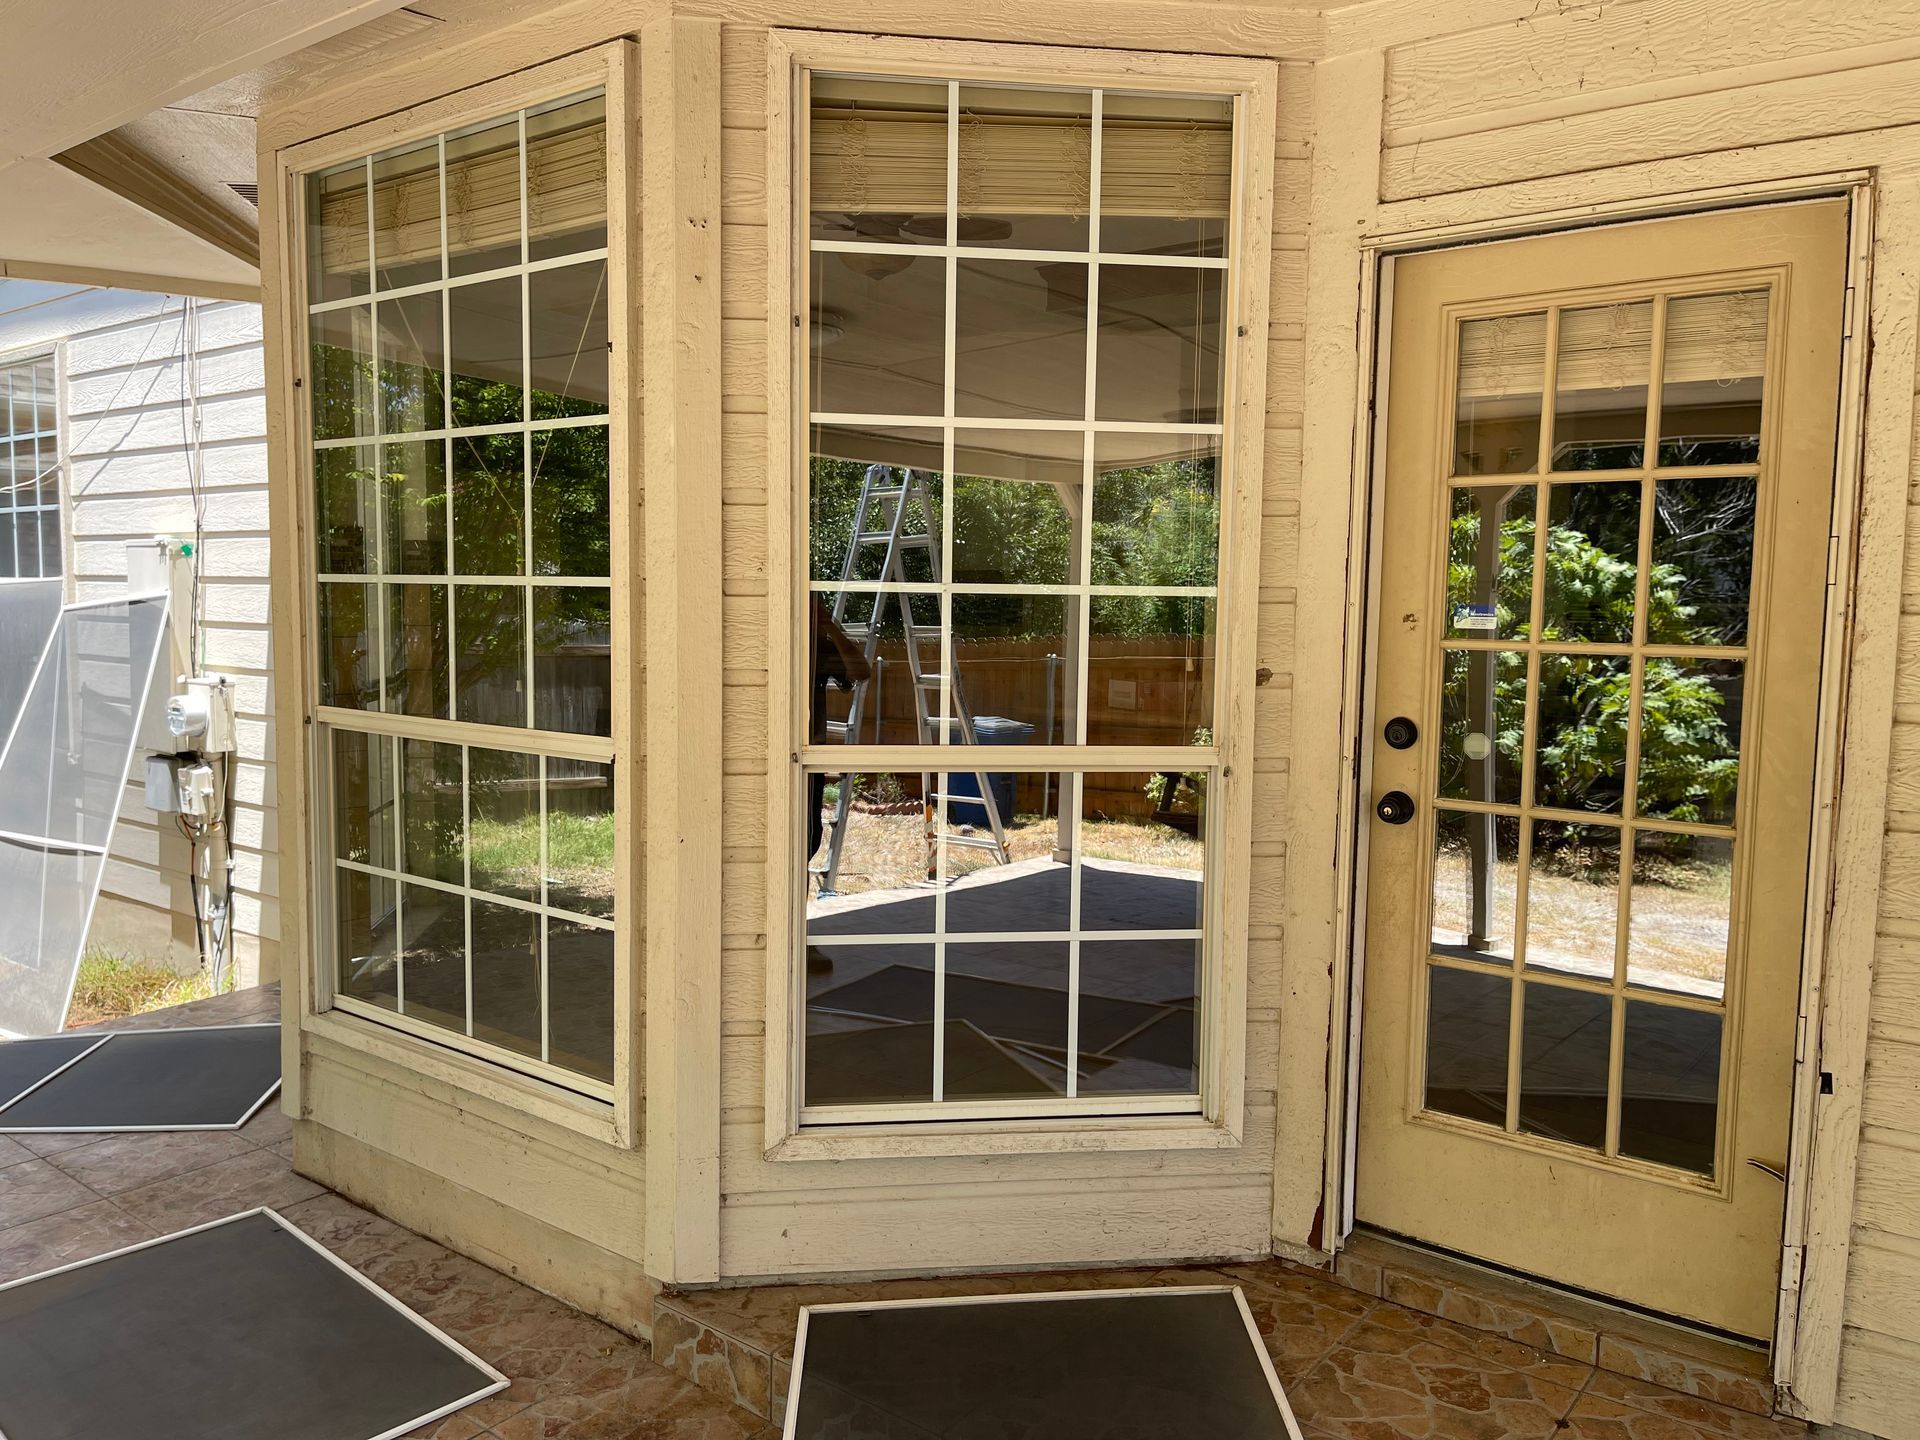
Learn more about window screens, what you have, how to clean them and where you can replace them.
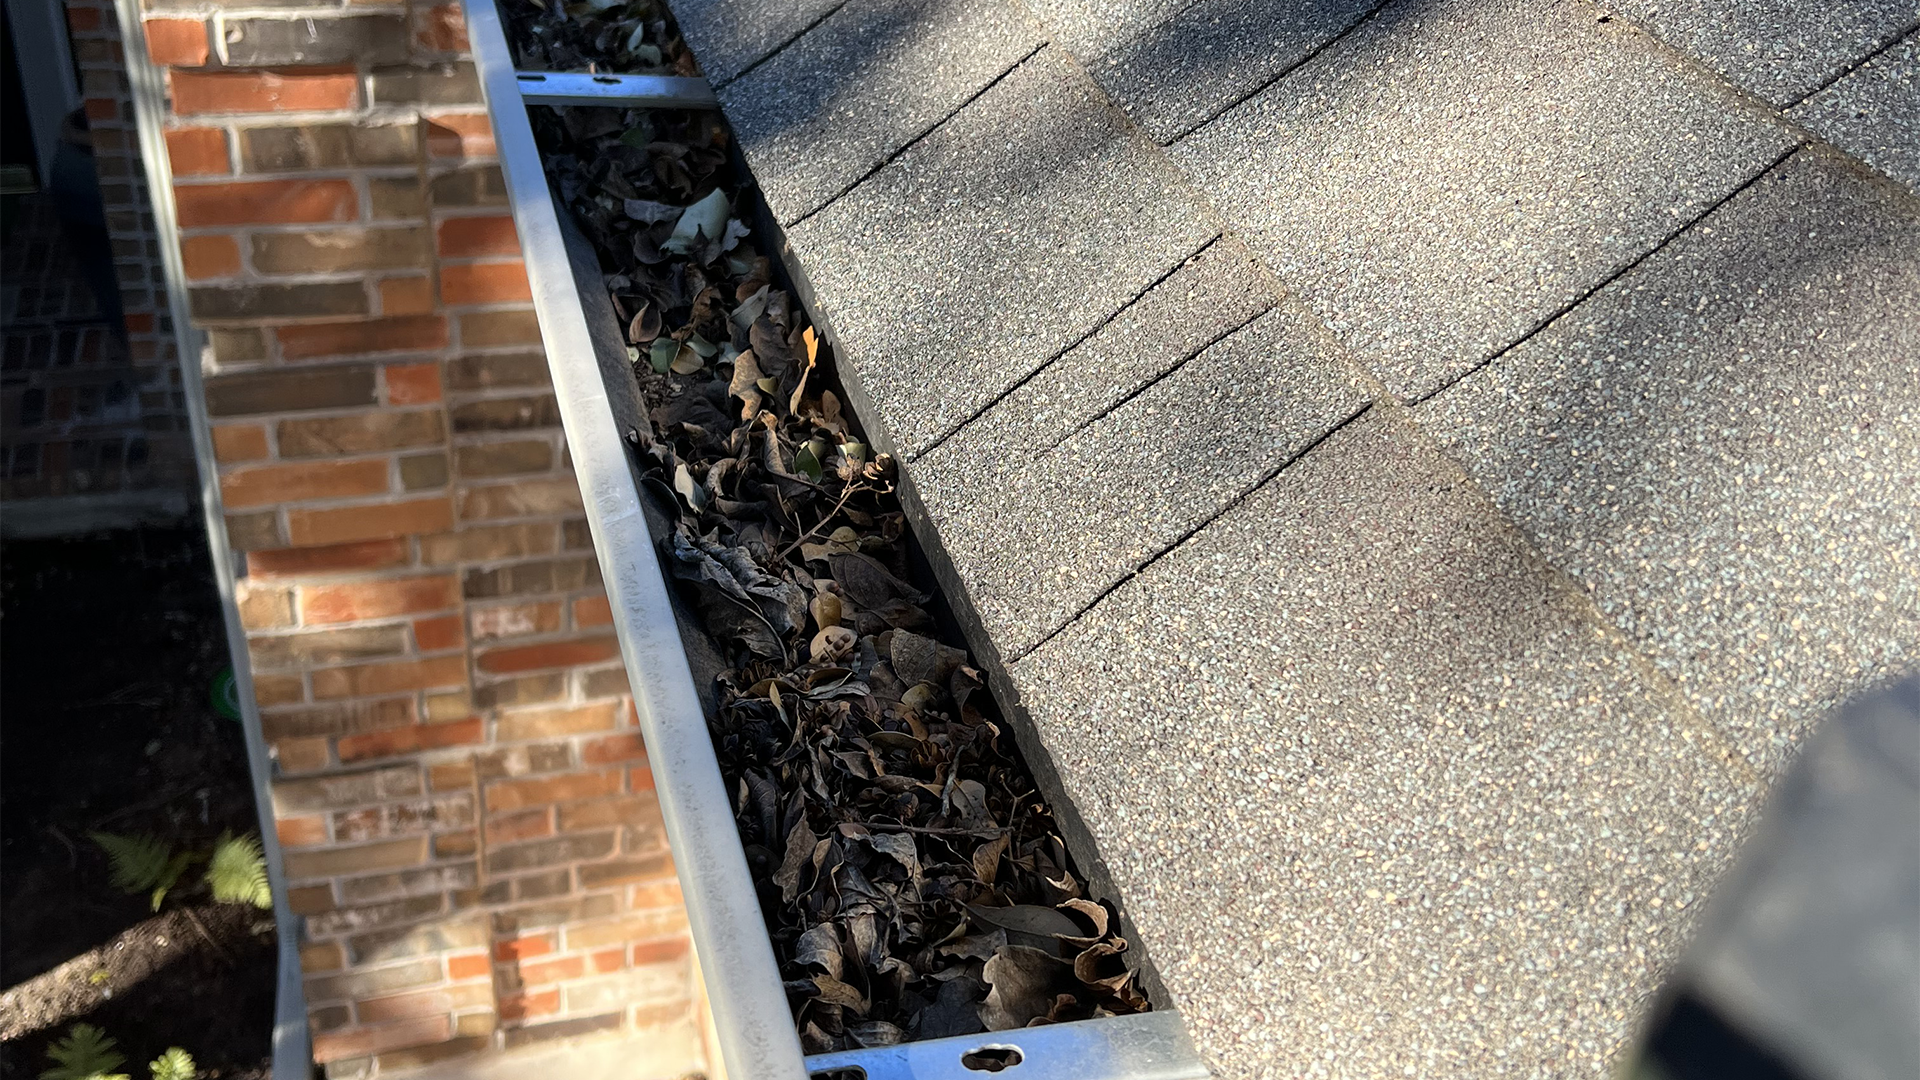
Why you should think about yearly maintenance on your gutters.
What to look for when choosing a local window cleaning service in the Austin area.

Want to understand what you should be paying for local window cleaning in Cedar Park, Texas? Well, this is the post for you.

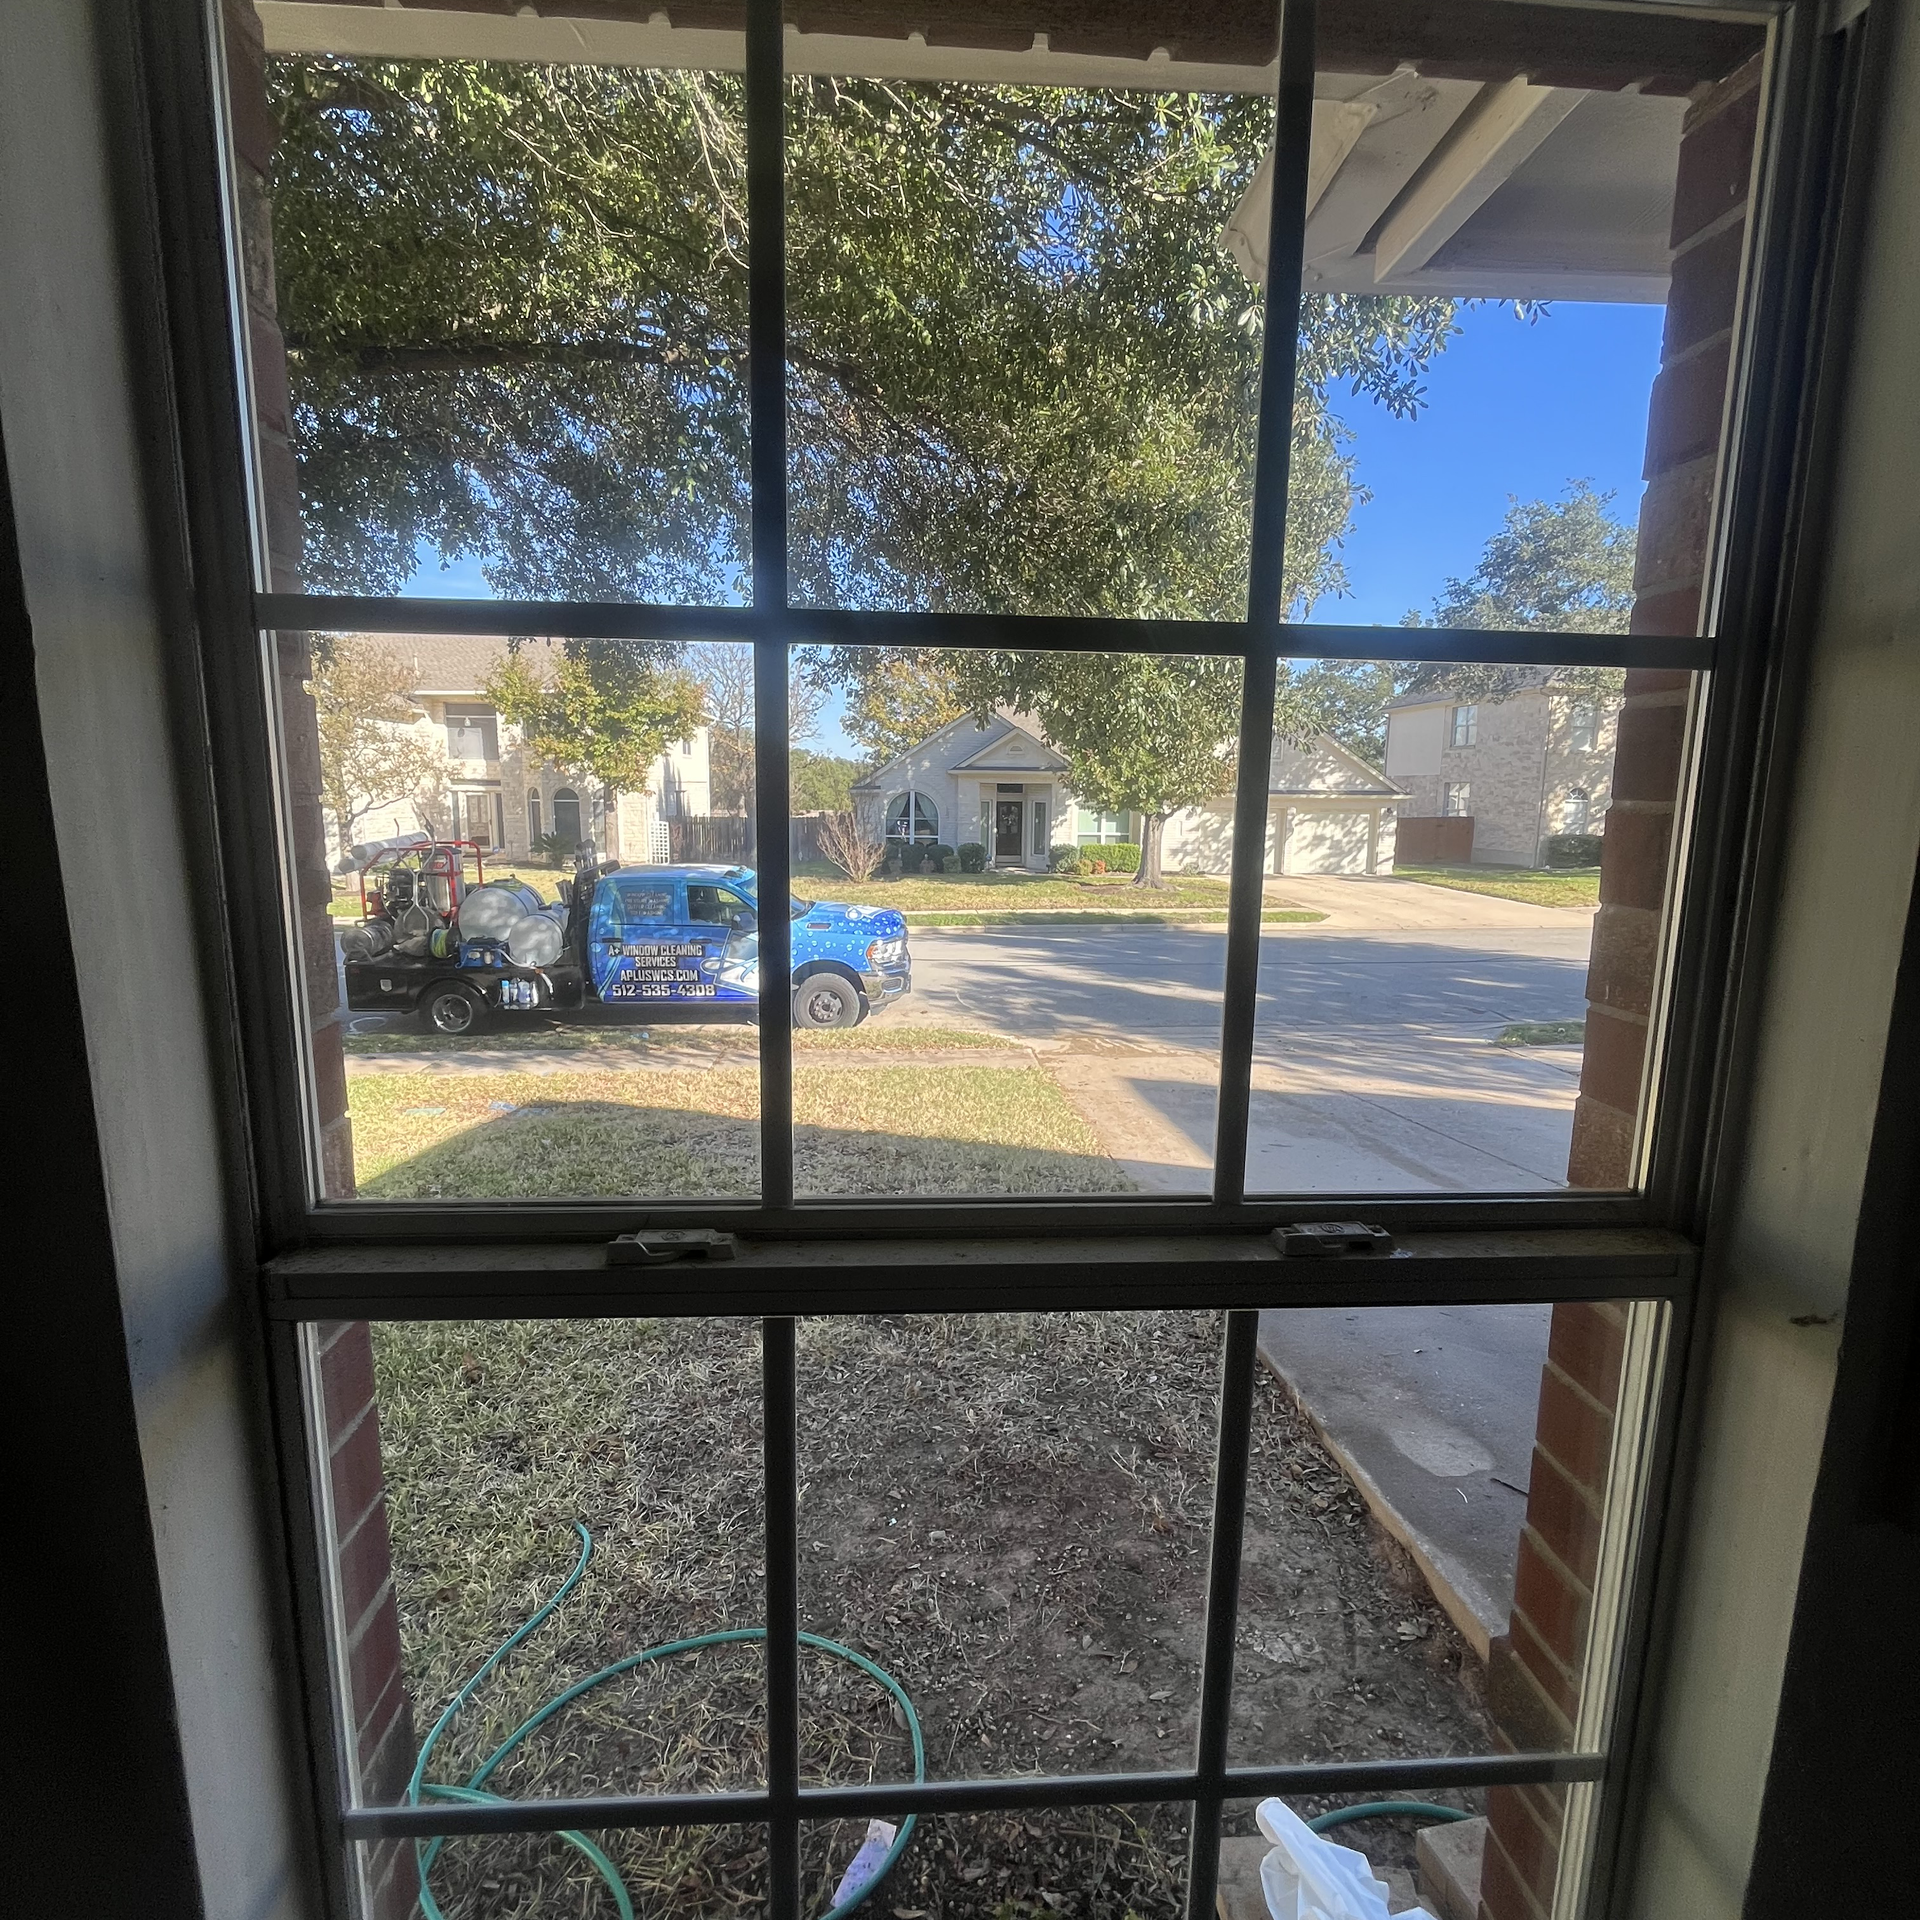
Here are some tips to get you started when you want to clean your residential windows in Georgetown. Oh, and a link if you do not have the time
How to choose the right company when you are looking to clean up the exterior of your home. Home cleaning can be a chore, but when it comes to exterior cleaning, having the right company with the right tools goes a long way.
How to wash windows like a pro.